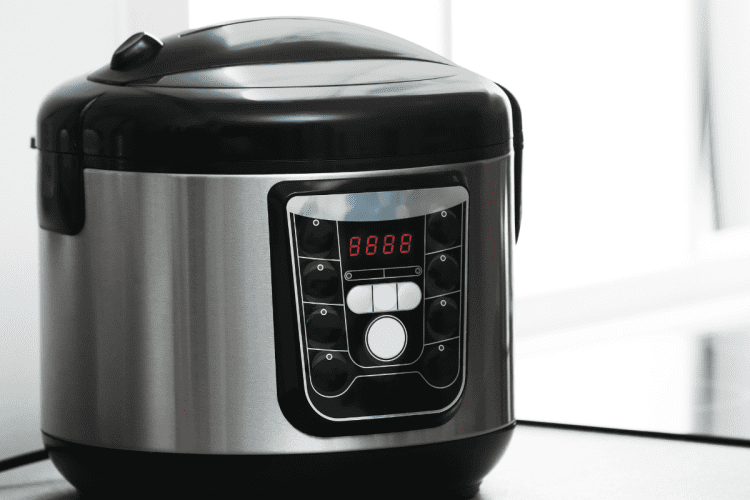
In the world of culinary convenience, the Instant Pot stands out as a beloved kitchen companion. With its versatility and efficiency, this multifunctional appliance has made cooking more accessible than ever. However, even the most reliable gadgets can occasionally throw a hiccup your way. If you’ve encountered an error code on your Instant Pot, don’t fret. In this guide, we’ll decode common Instant Pot error codes and provide you with troubleshooting solutions to get you back to cooking without a hitch.
Common Instant Pot Error Codes
1: (LID)
What It Means:
The “LID” error code on your Instant Pot indicates a problem with the lid. This error typically occurs when the lid is not properly sealed or locked.
Troubleshooting Steps:
Check Lid Alignment: Ensure that the Instant Pot’s lid is correctly aligned with the pot and the float valve. It should sit snugly and evenly.
Seal Properly: Make sure the sealing ring is correctly positioned within the lid. Ensure there are no gaps or misalignments.
Lock the Lid: Ensure the lid is securely locked into place by turning it counterclockwise until it clicks. You should not be able to easily lift the lid when it’s properly locked.
Inspect Sealing Ring: Examine the silicone sealing ring for any damage or debris. If it’s damaged or dirty, clean it thoroughly or consider replacing it.
Try Again: After checking all of the above, reset the Instant Pot and try your cooking process again.
2: Overheat (OH)
What It Means:
The “OH” error code on your Instant Pot indicates that the temperature inside the pot has exceeded the safety limit. This can occur if the Instant Pot’s sensors detect overheating.
Troubleshooting Steps:
Cool Down: If you see the “OH” error, immediately unplug the Instant Pot to stop the heating process. Allow the appliance to cool down naturally.
Check the Environment: Ensure that your Instant Pot is placed in an environment with adequate ventilation. Using it in a confined or extremely hot space can lead to overheating.
Check Liquid Levels: Insufficient liquid in the pot can cause overheating. Make sure your recipe contains the recommended amount of liquid. If needed, you can add a bit more liquid to the recipe.
Inspect Sealing Ring: Occasionally, a damaged or improperly placed sealing ring can lead to overheating. Double-check that the sealing ring is in good condition and correctly seated in the lid.
Check for Blockages: Verify that the steam release valve is not blocked, as this can prevent steam from escaping and lead to overheating. Clean the valve if necessary.
Examine the Float Valve: Ensure that the float valve moves freely and is not stuck in the up position. A stuck float valve can cause the Instant Pot to overheat.
Review Cooking Times and Settings: Confirm that you are using the correct cooking time and settings for your recipe. Using excessive heat settings may lead to overheating.
Reset and Retry: After checking the above factors, you can reset the Instant Pot and try your recipe again.
3: Burn (BURN)
What It Means:
The “BURN” error code on your Instant Pot indicates that the contents in the pot are burning or sticking to the bottom, which can affect the cooking process.
Troubleshooting Steps:
Open and Inspect: When you see the “BURN” error, immediately open the Instant Pot and inspect the contents. You may find that some ingredients have stuck to the bottom of the pot.
Deglaze the Pot: To resolve this issue, you’ll need to deglaze the pot. Add a small amount of liquid (e.g., broth, water, or sauce) to the pot and use a spatula to gently scrape any stuck bits from the bottom.
Adjust Settings: If the “BURN” error is recurring, consider adjusting the cooking settings. Lower the heat or pressure cooking time, if applicable, to prevent further sticking.
Use the “Pot-in-Pot” Method: If you’re cooking ingredients prone to sticking, you can use the “Pot-in-Pot” method. Place the ingredients in a separate, heatproof container within the Instant Pot and add liquid. This prevents direct contact with the pot’s bottom.
Stir Well: Some recipes, especially those with high-starch ingredients, benefit from regular stirring. Stirring ensures even distribution of ingredients and reduces the risk of sticking.
Check for Burnt Residue: If the “BURN” error persists and there’s burnt residue on the bottom of the pot, clean the pot thoroughly to prevent future errors.
Review Recipe: Examine your recipe to ensure it doesn’t have issues that might lead to sticking or burning. Adjust ingredient quantities or cooking times if needed.
Reset and Retry: After taking the above actions, reset your Instant Pot and resume your cooking process.
4: Lid Unsealed (UNSEAL)
What It Means:
The “UNSEAL” error code on your Instant Pot indicates that the Instant Pot’s lid is not sealed properly. A proper seal is essential for pressure cooking to work effectively.
Troubleshooting Steps:
Check Lid Alignment: Ensure that the Instant Pot’s lid is correctly aligned with the pot. It should sit evenly and snugly.
Seal Properly: Make sure the silicone sealing ring is correctly positioned within the lid. There should be no gaps or misalignments.
Lock the Lid: Confirm that the lid is securely locked into place by turning it counterclockwise until it clicks. You should not be able to easily lift the lid when it’s properly locked.
Inspect Sealing Ring: Examine the silicone sealing ring for any damage or debris. If it’s damaged or dirty, clean it thoroughly or consider replacing it.
Reposition the Ring: Sometimes, repositioning the sealing ring can resolve the issue. Take it out, clean it, and carefully place it back in its groove.
Try Again: After checking all the above, reset the Instant Pot and try your cooking process again.
5: No Pressure (nPr or NP)
What It Means:
The “nPr” or “NP” error code on your Instant Pot indicates that the Instant Pot is not building pressure as it should. This can lead to longer cooking times or undercooked food.
Troubleshooting Steps:
Check for Steam Leakage: Steam leakage is a common cause of this error. Ensure that the steam release valve is properly sealed and that there is no visible steam escaping from the lid.
Verify Float Valve: The float valve should move freely. If it’s stuck in the up position, it can prevent the Instant Pot from building pressure. Gently tap the float valve to ensure it moves down.
Inspect Sealing Ring: Ensure the silicone sealing ring is clean and correctly positioned within the lid. A damaged or improperly seated sealing ring can lead to pressure loss.
Double-Check Lid Alignment: Make sure the Instant Pot’s lid is correctly aligned and securely locked into place. Even a slight misalignment can result in pressure loss.
Adjust Liquid Levels: Ensure that there’s sufficient liquid in the pot. An insufficient amount of liquid can prevent the Instant Pot from building pressure.
Review Recipe: Confirm that you’re using the correct settings and times for your recipe. Some recipes may require adjustments to the settings.
Reset and Retry: After addressing these factors, reset your Instant Pot and retry your recipe.
6: High Pressure (H) or Low Pressure (L)
What It Means:
The “H” or “L” indicator on your Instant Pot represents the pressure level at which the appliance is currently operating. “H” stands for high pressure, while “L” stands for low pressure. The pressure level is crucial for various cooking techniques and recipes.
Troubleshooting Steps:
Adjust Pressure Settings: If you see an “H” or “L” and it’s not the intended setting for your recipe, you can typically adjust the pressure level by pressing the “Pressure” or “Manual” button and selecting the desired setting.
Review Recipe: Double-check your recipe’s requirements. Some recipes may call for high pressure, while others may require low pressure. Ensure you’ve set the Instant Pot to the right pressure level according to the recipe.
Check for Seal: An “H” or “L” may also indicate that the Instant Pot is building pressure. Wait for the appliance to reach the desired pressure level before it starts the cooking cycle. If it doesn’t reach the correct pressure level, check for any steam leakage or issues with the sealing ring, float valve, and lid alignment.
Cool Down: If you see an “L” and the Instant Pot is not reaching pressure, unplug the appliance, let it cool down, and inspect for any obstructions or issues that may be preventing it from building pressure.
Conclusion
In conclusion, Instant Pot error codes are essential indicators that help troubleshoot and address issues during the cooking process. Understanding these error codes and following the appropriate troubleshooting steps can help ensure safe and successful cooking with your Instant Pot. Proper maintenance, troubleshooting, and understanding of instant pot error codes can help you make the most of your Instant Pot and enjoy delicious meals with confidence. If you encounter persistent issues or are unsure about troubleshooting, consult your Instant Pot’s user manual or contact customer support for assistance.